April 22 – Celebrating Another Day of Managing God’s Wonderful Creation

quotesCover-jpgToday is “Earth Day”.  But, for me, as a Christian, today isn’t about celebrating the earth.  It’s about celebrating God who created the earth, who owns it, and has tasked his creation (man) with management of it.

How amazing is it that God, who created the universe, would give mankind the privilege of managing a little piece of it?  God, who is all-powerful, all-knowing, all-present, all-sufficient, and completely in control of all things has called little ol’ me and you to steward the earth, acting in His name to responsibly work and keep it.  What an extraordinary honor and obligation! What wonderful implications that has for how we manage it!  As R.C. Sproul, in his article on Biblical Stewardship says, “At creation, the mandate that God gave to humanity was for people to reflect and mirror God’s stewardship over this sphere of creation. This involves far more than religious enterprises or the church. It has to do with how we engage in scientific endeavors, how we do business, how we treat each other, how we treat animals, and how we treat the environment. That dominion over the earth is not a license to exploit, pillage, consume, or destroy the earth; it is a responsibility to exercise stewardship over our home by working and keeping it. Working and keeping one’s home means preventing it from falling apart, keeping it orderly, maintaining it, preserving it, and making it beautiful. The whole science of ecology is rooted and grounded in this principle.”

So, as I go about my work out on the homestead, today (and every day) – working hard to build the soil, encourage beneficial pollinators, establish animal habitats, control weeds and predators naturally, harvest rain water, create compost, re-use green waste, grow heirloom, fruits, veggies, flowers, and herbs in the most natural ways I know, I thank God that He has charged me with such an awesome task – managing a little section of His created earth.  I want to do everything I can to not only preserve, but enhance our Happy Homestead – as a “good and faithful servant” should – for the benefit of all creation and to the praise of our glorious Creator.

Earth Day, for me, is just another day of celebrating the management of God’s wonderful creation.


Chicken Care During Molting Season

moulting chicken

It’s that time of year again.  The days are shorter with less sunshine and warmth.  The grass and trees are heading into dormancy, the vegetable garden is becoming less productive, and the chickens are beginning to molt.

Molting is a natural part of life for chickens.  The process of losing and replacing feathers is a yearly event for all but the youngest (usually 1 year and younger) around here.

For this post, instead of discussing all of the details about molting, I wanted to focus on one of the larger challenges we face during this time of year – wound care.

When the hens lose their feathers, it exposes their skin underneath.  While some of the darker-feathered hens have dark-colored skin,  some of the lighter-feathered hens have pink or red skin.

moulting chicken 2

That “redness” creates a problem sometimes, as other chickens perceive it as blood and begin pecking at the exposed skin. During the day, when the chickens are outside free-ranging, this doesn’t pose too much of a problem, as there is plenty of space for the one being picked on to run away from the others.  However, in the early morning hours, if it happens before we’ve let them out of their coops, then the poor chicks are like sitting ducks, and often times when one starts the pecking process, and blood is drawn, the others join in, and the next thing you know, we’ve got an ugly mess on our hands.

We’ve found, in our experience, that chickens are pretty resilient.  They heal pretty well on their own, even when no special care is given, but sometimes the wound is fairly substantial, and we need to give the chicken some more help and attention.

This can come in the form of something as simple as washing the wound with water to remove as much of the blood as possible, and then releasing the chicken back into the flock to continue on as normal.

Sometimes we spray it with hydrogen peroxide to disinfect, if the wound is more than surface.

If the wound goes deeper, or if, after releasing the chicken back into the flock, the pecking starts again and does more harm to the chicken, we isolate the chicken, giving it a few days to a few weeks to fully heal and then integrate it back into the flock.

Here’s a current patient happily healing and enjoying a roost all to herself:

isolated chicken

We’ve got another one, though, whose wound looks a little sketchy, so, something new we’re trying out on this one is this spray wound dressing:

It’s an antiseptic and germicidal spray that’s meant to help prevent secondary infections from setting in.  We’ve never had a problem with that happening, but we thought it couldn’t hurt and may even help speed up the healing process.  We’re also hoping that, maybe, the purple color won’t appeal to the other chickens and that they’ll leave her alone until tonight, when it will be easier to spot and catch her, and then remove her to an isolation/recovery box of her own.

What kinds of problems/issues do you run into during molting season?  How do you remedy them?

Gardening For The Taste of It

Why do I garden? To be sure, I do it because I want to be able to supply my family with the freshest, most sustainably and naturally grown food that I can buy.  I also do it because I love to get outdoors and dig in the dirt; it’s a great way to exercise, be exposed to sunlight and beneficial microbes.  It’s also THE best place to gather my thoughts and communicate with God (hmmm…that gives me another idea for a future post!).

But, I also garden for another simple reason: taste – if you grow your own, you know what I’m talking about.  Nothing compares to the taste of perfectly ripened, fresh from the garden produce that you grow yourself!

After all of these years of gardening, I’ve come up with six crops that I absolutely LOVE the home-grown version of, and are MUSTHAVES for planting in my garden every year.  Won’t you follow along and see if you agree?

  1.  Heirloom Tomatoes.  I love heirloom tomato varieties.  They are sweet, juicy, smoky and fruity, and come in a variety of amazingly beautiful colors and shapes.  While they may not be as prolific as their hybrid counterparts, what they lack in production is easily made up for in taste – there’s nothin’ quite like the taste of a home-grown heirloom tomato, in my opinion.


loads of tomatoes


2.  Potatoes.  If you’ve ever grown your own potatoes, you know what I mean.  From the minute you start preparing them, you can tell you’re in for a treat!  They have a wonderfully crisp texture, when you cut into them. When cooked, they are creamy and buttery, with out-of-this-world flavor.  I haven’t found one person who has ever tasted a home-grown potato and doesn’t have a story to tell about its wonders.

potatoes

3.  Tree fruit.  Apricots, plums, nectarines, peaches, pluots, and apples are some of the tree fruits I grow out at Whit’s Acres.  Like candy on a branch – that’s what I’d compare these babies to when they are perfectly sun-ripened and ready to eat.  Each heirloom variety has its own unique smell, taste, and texture – things that make them even more of a priority for me to have in my garden.
Apricots

4.  Beets.  I know.  Do you hate them?  I used to, too… until I tasted one freshly harvested from my garden and roasted.  Wow!  So sugary sweet, with just a touch of earthiness.  And the beet greens?  Fabulous!  Mix them together with some fresh shallots and an orange juice-garlic vinaigrette and you’ve got one pretty amazing salad.  I love these things!

beets-lettuce-cabbage-003.jpg

5.  Beans, the kind that you can dry.   Oh, man.  If you haven’t grown your own soup beans, you’ve got to get them in the ground next chance you get!  Once again, the texture and taste of home-grown dry beans are incomparable.  They are silky smooth in texture and provide a depth of flavor that you just can’t get anywhere else.  My favorites to grow are black-eyed peas and rattlesnake beans.  They are so easy to grow and produce like crazy, too!

dry beans

6.  Brussels Sprouts.   I know.  They’re an acquired taste, right?  Maybe, if you’ve only ever had the store-bought kind.  Home-grown ones, on the other hand, are quite addicting!  They are amazingly sweet with a more subtle cabbage flavor.  My favorite variety is “Falstaff” (not pictured here), which is super sweet, mild, and a bit nutty tasting.  They are getting more and more difficult for me to grow here where I live, due to warmer weather patterns, but I will not give up on growing them, because the homegrown varieties just don’t compare with any others that I’ve ever tasted.  They are that good!

brussels sprouts

How about you?  What fruits and vegetables do you grow for taste?  What do you grow that is far superior in taste, texture, and smell to anything you’ve ever purchased?  What other crops would you add to this list?

Let Volunteers be Your Guide for When to Plant

IMG_20141107_152713

A question I am often asked is, “when do I plant?”  It’s an important question.  Different plants require different growing conditions and should be grown at different times. Without a doubt, one of the keys to a successful garden is knowing when to plant all of the different varieties that you will be growing.  But, how does one determine when to plant?

Well, there are a few different ways this can be done (I’ll save the best way I’ve found ’till the end)…

First, you can make a trip to your local nursery or home and garden center and look to see what they currently have for sale. Typically, they stock plants based on growing seasons.  However, you should just use this as a general guide, especially in the spring, when the ground and air temps may not be warm enough for planting in your specific area.  I can’t tell you how many people I know who have lost their entire investment, in the spring, by planting too early just because the plants were available in the nursery.  Also, they often don’t stock vegetable transplants year ’round.  Just because they’re not available in the nursery at the moment, it doesn’t mean it’s not the right time to put them in your home garden. Typically, home and garden stores make transplants available one time per year, in early spring.  There are many vegetables that can be put into the garden right up through the fall, like lettuces, cabbages, peas, and oriental greens, but you may not find them for sale in your local stores.  So, yes, see what’s available at your local nursery, but don’t use it as the only method for determining when to plant.

cool weather seedlings

Next, you can go by the instructions on the back of a seed packet.  Some seed packets have very general (and sometimes confusing) instructions.  It may show a map with color-coded zones and planting times.  If there are a lot of different climates in your state or county, it can be tricky to pinpoint, exactly, which zone you fit in just by looking at the small map.  Also, the range of planting dates can be quite large – i.e. if you are in zone x, plant between early February through April – that’s a pretty wide range.  It can be a bit of a guessing game when you use these types of seed packets.  However, there are some wonderful heirloom, organic seed companies that provide planting instructions with great detail on their packets, including whether or not the seeds need overnight soaking, cold stratification, or scarifying, which can make all of the difference when it comes to successful germination.  These types of packets also base seed starting time on your first and last frost dates.  For example, the packet might say something like, “start seeds indoors four weeks prior to your last frost date.”  This really helps you to zone in on a particular planting date for your seed starting.  The key here is knowing your first and last frost dates so that you get those seeds in the ground at the right time.

This leads me to another tactic, which I greatly employ in my own garden planning – a vegetable planting guide.  There are a variety of different guides that you can reference and download on the internet.  Some are designed for specific hardiness zones, counties, and regions, others are more general in nature.  Some cover very basic garden vegetables, herbs, and flowers, others get into more specific types of plants.  Some are very visual, others more technical.  I keep several different types of guides on hand to help me with my planting times.  I like to use simple, at-a-glance-type guides at the beginning of the gardening season to quickly plan out what I’m going to get started and when.  When I get closer to the fall, I prefer to use a more technical guide that includes a “days to harvest” column so that I can count back from my final frost date and know when I can safely sow or plant out my final crops.

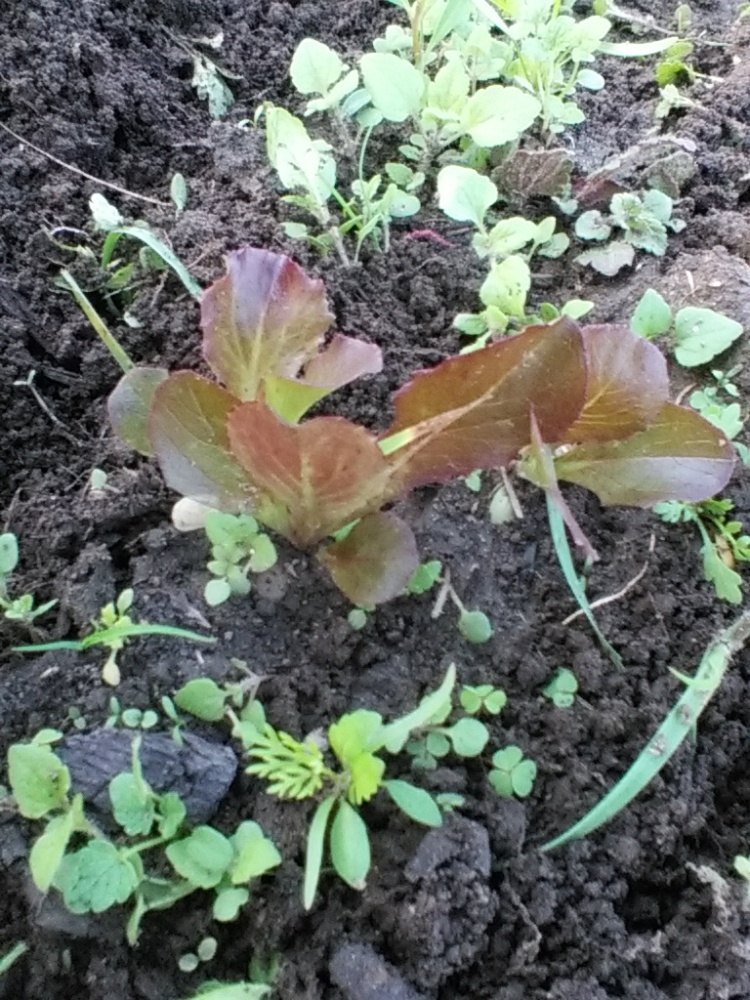
Finally, a method that I’ve really come to appreciate in helping me know when to sow and plant (and the one that I’ve found to be the most reliable) is using volunteer seedlings as guides.  Whenever I see a baby plant growing, it indicates to me that it’s the right time to sow brother and sister seeds of that variety. Here’s why:  that seed has been lying underground for some time, waiting for just the right conditions to spring to life.  It’s presence in the garden indicates that there must be ideal conditions for it to be growing, and, therefore, it’s time for me to begin sowing or planting out more of it (the exception being warm weather varieties that show up late into the season, when there won’t be enough time for them to set fruit for harvesting).  The key to using this method is letting some of my plants from the previous season set and drop seed.

10620462_537170926382980_2322020322574456672_o

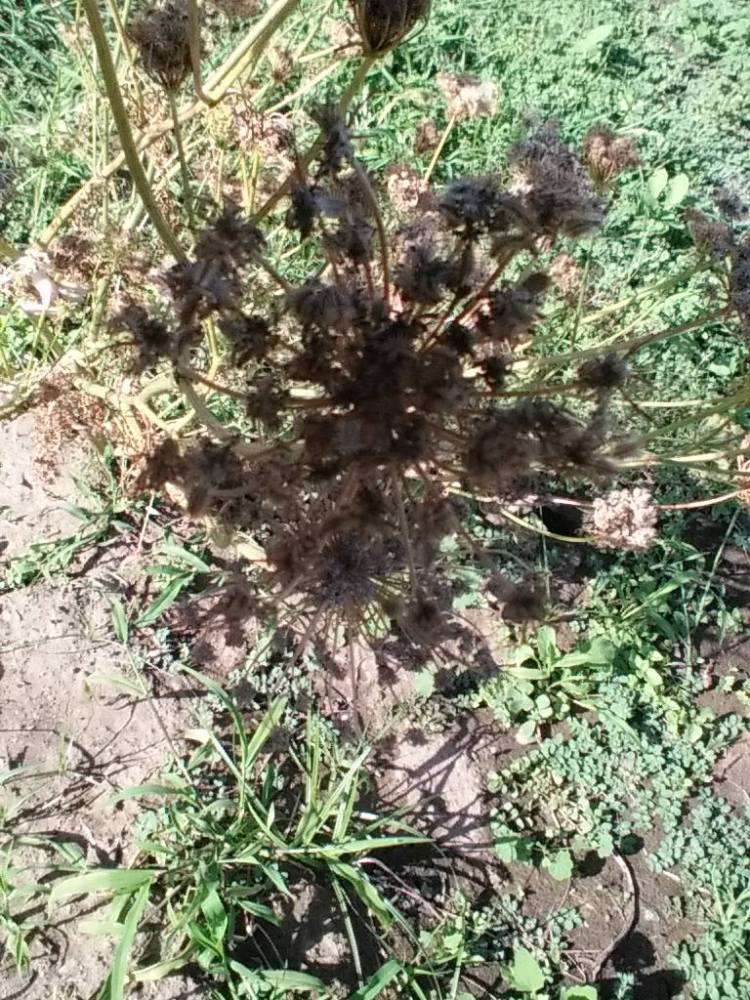
(with potatoes or garlic, I  leave some of the harvest in the ground, for plants where the seeds are contained inside of the fruit, I  allow the fruit to mature, then leave it to decompose right in the garden bed. Bugs, insects, animals, wind and water can also disperse seed, setting up the opportunity for more volunteers to pop up later on.  If you compost, you may also find volunteers there.)

Each year, there are variances in weather conditions in my area – variances that home and garden centers, seed packets and charts can’t predict, but I can almost always guarantee that I’ll be planting at the right time if I do it in conjunction with volunteers that I see sprouting in my garden!

Won’t you give it a try?
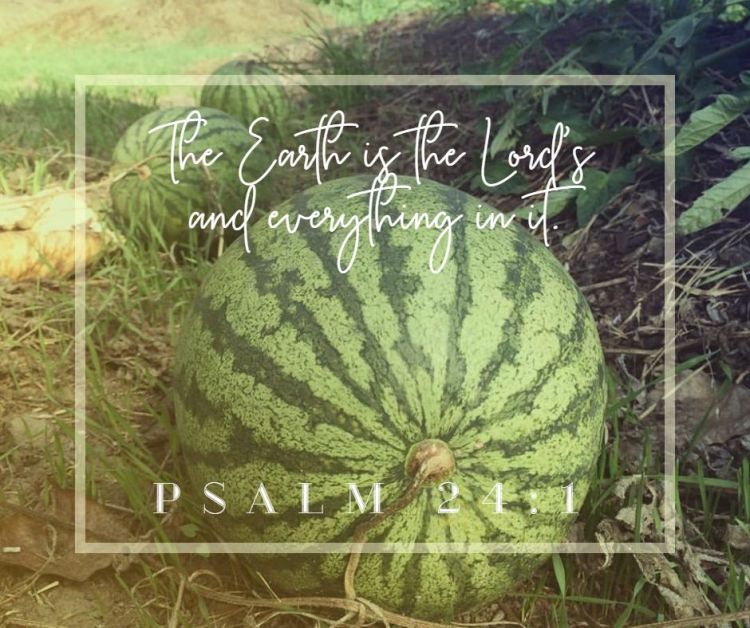